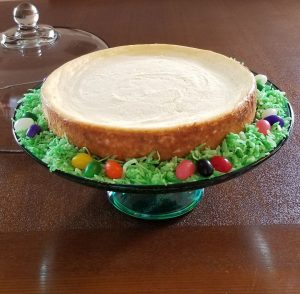
 As you know, I’ve been diligent about sticking to my keto lifestyle. So, wanting to find a delicious dessert that the whole family would enjoy, I pulled out my cellphone and performed a quick Google search on “best keto cheesecake recipe.” The list that came back was pretty long, of course! But I found a recipe that not only had a gorgeous photo to go with it (mandatory!) but also had the most 5-star reviews of any I could find during my quick search. So, I clicked on the link to their recipe (posted in the resources section below) and though I did NOT like that I seriously had to scroll, scroll, scroll, s-c-r-o-l-l…(ugh!) to finally find the actual recipe with amounts of what ingredients…sigh…I DID decide to go with this recipe. Because it looked simple enough, required only minimal “special” ingredients (ie; erythritol), and sounded like it would probably be a WIN without too many complications!
No Walnuts, Please
My daughter specifically asked that I find a recipe that does_not_ call for walnuts in the crust because she is slightly allergic to them…she gets a little numbness/swelling in her mouth and throat after eating them so she avoids walnuts now…and that’s not a problem for me, anyhow. I know enough about baking that I could have substituted pecans and that would have been just fine, both for her needs and the taste of the cheesecake. But luckily, this recipe didn’t even call for walnuts! It called for almond flour for the crust…which I just happened to have on hand…so that was perfect!
The reason she asked about the walnuts is because she and I frequently meet at The Cheesecake Factory for girl’s day out and we both get their (delicious!) Low-Carb Cheesecake. Well, their recipe uses walnuts in the crust. So, she always eats the top off of her serving and leaves the crust on the plate. But she is fine with almonds, so this recipe would work for her, no problem.
The recipe was pretty cinchy to whip together!
It didn’t take too long and was a typical 2-step, baked cheesecake operation (make and briefly bake the crust, then fill and bake the entire cake.) However I _did_ make an adjustment to the filling because it wasn’t sweet enough for my taste, following the recipe as it is. So, I added 10 packets of stevia to the original and that made the filling taste just right…before it was baked. I have yet to taste the finished product. But I’m pretty confident it’s going to be delicious!
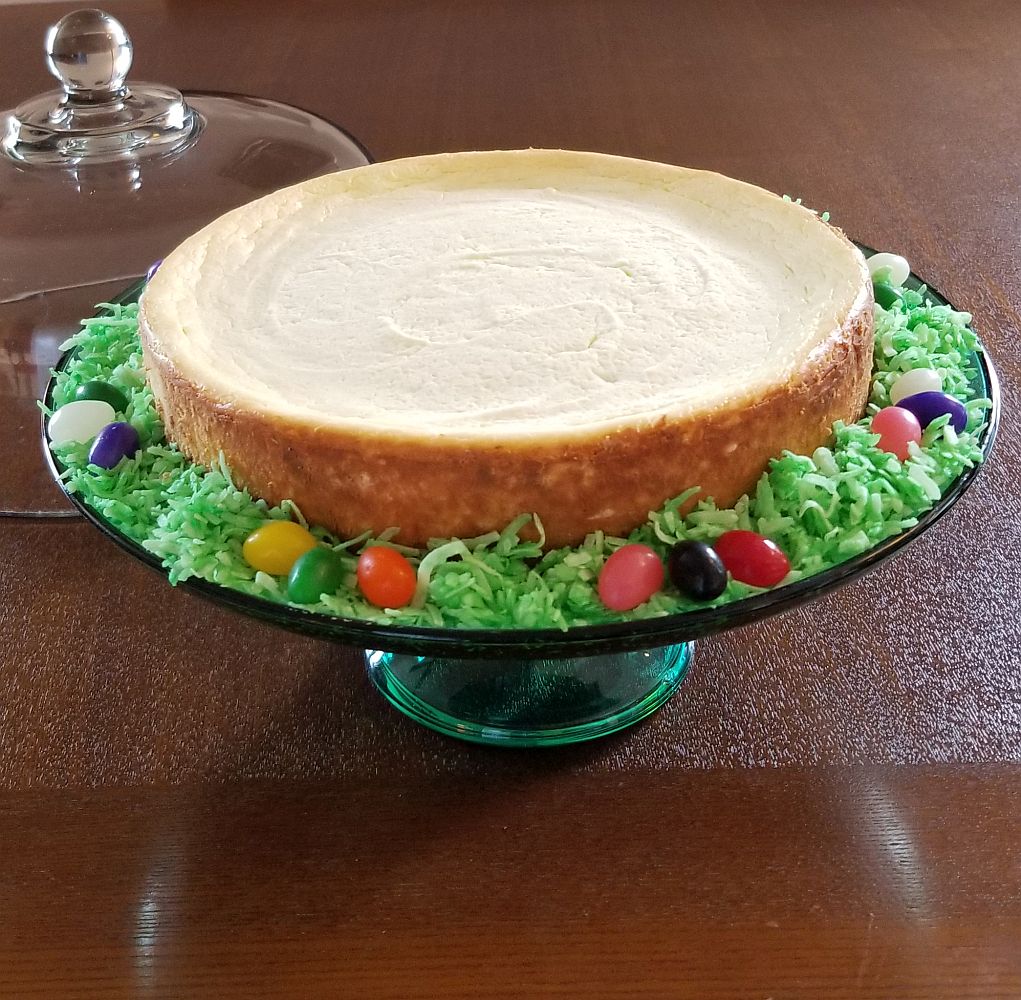
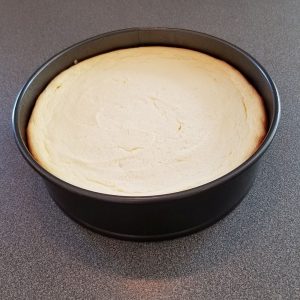
I made the cake last night so that it could chill in the refrigerator over-night and this morning, I have to say, that cheesecake looks perfect! It really didn’t shrink down too much. And the surface only got one small crack during baking. Something that I don’t mind, anyhow. I think it adds character to the appearance of the dessert!
Not many people know this about me…
But I actually worked for a short time as a professional pastry chef at a Dessert Of The Month catering company. Their primary product line was cheesecakes. So, I have quite a bit of experience making baked cheesecakes from scratch. (They didn’t offer any low-carb versions, though, so there’s that.) But cake shrinkage is something to be concerned about with many baked cheesecake recipes. And that’s why I was really happy when I opened the fridge this morning and saw that this cake had very little shrinkage. BONUS!
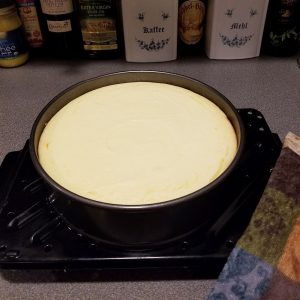
Here are three photos of the process so that you can get the full experience 😉 (Well…aside from the really important part…EATING IT!!! LOL!)
I’ll post a review on the Facebook Page…I might even go LIVE when I’m taking my first bite…so that I can give you my first impression of the taste and texture! So, be sure to visit that page for the video review!
In the meantime, here’s the link to the original recipe on Wholesome Yum I hope you try it out yourself and let me know in the comments below what you think!
Wishing you Health, Happiness, and Celebration with your loved ones on this holiday weekend!
Blessings,
Tracy


Leave a Reply
You must be logged in to post a comment.